

Hey there! I'm from a Rock Wool Pipe Insulation supplier, and I'm stoked to share with you how to install rock wool pipe insulation. If you're looking for top - notch Rock Wool Pipe Insulation, you've come to the right place. Let's dive right in!
Why Rock Wool Pipe Insulation?
Before we start with the installation process, let me quickly tell you why rock wool is a great choice for pipe insulation. Rock wool is made from natural basalt rock, which is melted and spun into fibers. This material has excellent thermal insulation properties, meaning it helps keep the heat in when it's cold outside and out when it's hot. It's also fire - resistant, which is a major safety plus. And it's good at reducing noise, too. So, if you want a reliable and versatile insulation solution for your pipes, rock wool is the way to go.
Tools and Materials You'll Need
First things first, gather all the stuff you need for the installation. You'll need:
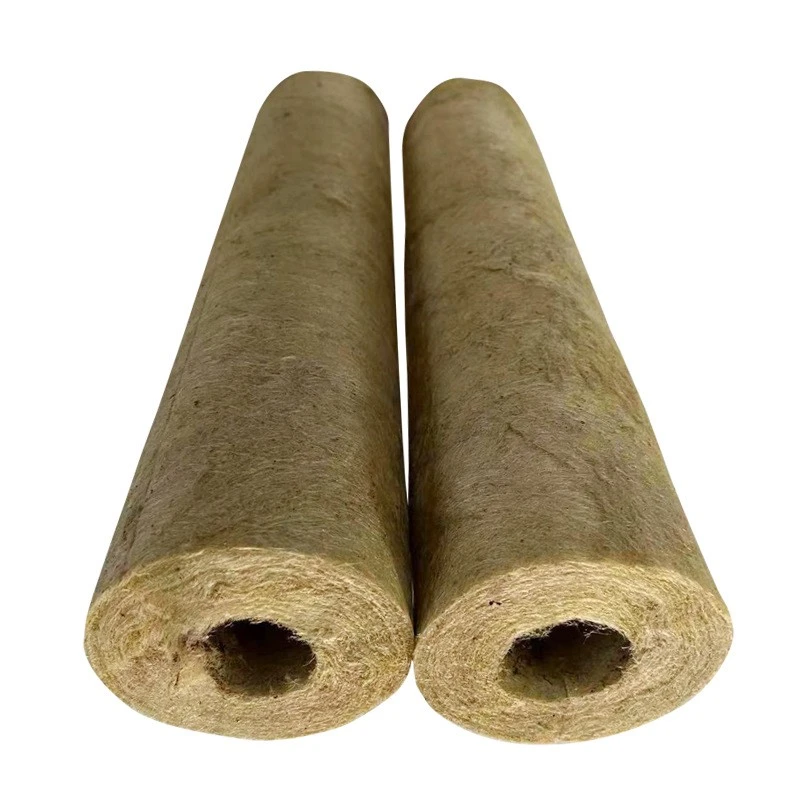
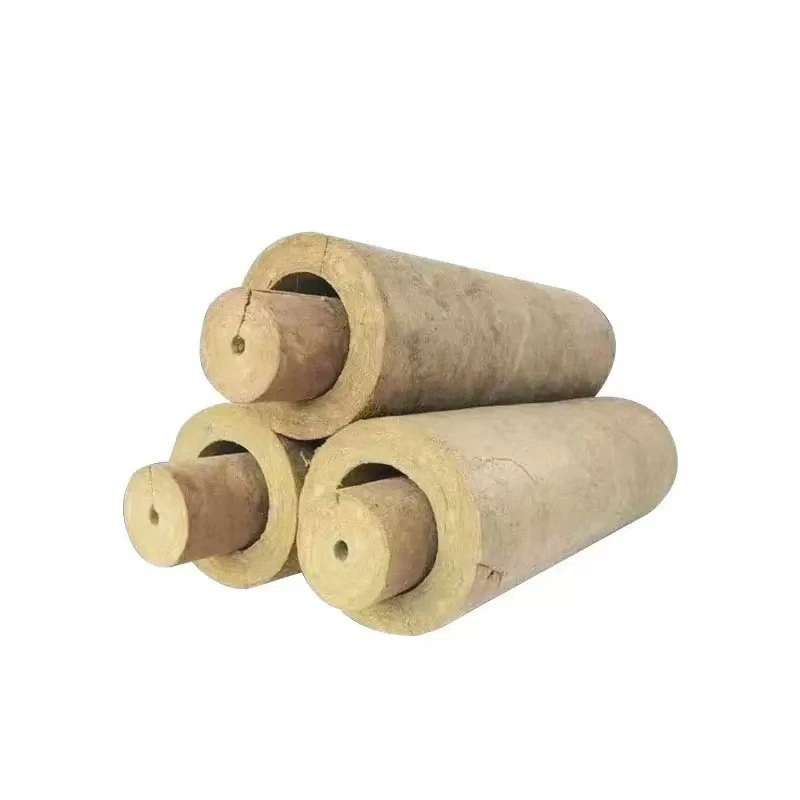
- Rock wool pipe insulation: Obviously! Make sure you get the right size that matches your pipes. You can figure out the size by measuring the outer diameter of your pipes.
- Measuring tape: Used to accurately measure the length and circumference of the pipes.
- Utility knife: To cut the rock wool insulation to the right length.
- Adhesive or banding: You'll use this to secure the insulation to the pipes. Adhesive works well for smaller pipes, while banding is better for larger ones.
- Safety gear: This includes gloves to protect your hands from the fibers, goggles to keep your eyes safe, and a dust mask, especially if you're doing a big installation, as the dust from the rock wool can be irritating.
Pre - installation Checks
Now that you've got all your tools and materials ready, it's time to do some pre - installation checks.
- Clean the pipes: Make sure the pipes are clean and free of any dirt, grease, or rust. You can use a clean cloth and some mild detergent to wipe them down. This will help the insulation stick better.
- Inspect the pipes: Look for any leaks or damage on the pipes. If you find any, you'll need to fix them before installing the insulation. You don't want to trap moisture inside the insulation, as it can reduce its effectiveness and even cause corrosion on the pipes.
- Mark the pipes: Use a marker to mark the starting and ending points of the insulation on the pipes. This will help you cut the insulation to the correct length.
Installation Steps
Step 1: Measure and Cut the Insulation
Take your measuring tape and measure the length of the pipe section where you want to install the insulation. Add a little extra length, about an inch or two, to account for any overlap. Then, use your utility knife to cut the rock wool pipe insulation to the measured length. Be careful when cutting, as the knife is sharp.
Step 2: Open the Insulation
Most rock wool pipe insulation comes in a split - design, which makes it easy to install around the pipes. Gently open the insulation along the split. If it's a bit stiff at first, you can use your hands to flex it a little to make it more pliable.
Step 3: Wrap the Insulation Around the Pipe
Place the open side of the insulation around the pipe, starting at the marked starting point. Make sure the insulation fits snugly around the pipe. If there are any gaps, try to close them as much as possible. You can use a little bit of force to push the insulation firmly against the pipe, but don't be too rough or you might damage it.
Step 4: Secure the Insulation
Depending on the type of securing method you've chosen (adhesive or banding):
- Adhesive: Apply a thin, even layer of adhesive to the joint edges of the insulation. Press the two edges together firmly and hold them in place for a few seconds until the adhesive starts to set.
- Banding: Wrap the banding tightly around the insulation at regular intervals. You can use a screwdriver or a special banding tool to tighten the bands. Make sure they're tight enough to keep the insulation in place but not so tight that they damage the insulation.
Step 5: Handle Joints and Connections
If you have multiple sections of insulation to install on a long pipe or at pipe joints and connections, you need to pay special attention. At joints, cut the insulation at an angle so that the two pieces can fit together neatly. Use adhesive or banding to secure the joint. For connections like elbows and tees, you can usually find pre - formed rock wool insulation pieces that are designed to fit these shapes. Just follow the same installation process as for the straight pipes.
Step 6: Inspect the Installation
Once you've installed all the insulation, take a good look at your work. Check for any gaps, loose ends, or areas where the insulation isn't properly secured. If you find any issues, fix them right away. You want to make sure the insulation is installed correctly to get the best performance.
Tips and Tricks
- If you're working in a tight space, it might be a bit tricky to install the insulation. You can try cutting the insulation into smaller pieces and then assembling them on the pipe.
- When using adhesive, make sure to follow the manufacturer's instructions. Different adhesives have different drying times and application methods.
- If you're installing insulation outdoors, you might want to consider adding a protective jacket over the rock wool insulation to protect it from the elements.
Maintenance
Rock wool pipe insulation is generally low - maintenance. But it's a good idea to check it periodically. Look for any signs of damage, such as tears or moisture. If you find any issues, you might need to replace the damaged section of insulation.
Conclusion
So there you have it, folks! Installing rock wool pipe insulation isn't as hard as it might seem. With the right tools, materials, and a bit of know - how, you can do it yourself. And if you're in the market for high - quality Rock Wool Pipe Insulation, remember, we're here to help. Whether you have a small residential project or a large commercial one, we've got the products and expertise to meet your needs.
If you're interested in purchasing our rock wool pipe insulation or have any questions about the installation process, feel free to get in touch. We're always happy to have a chat and help you find the best insulation solution for your pipes.
References
- Building Insulation Manufacturers Association (BIMMA) - General information on insulation materials
- Technical literature from rock wool insulation manufacturers